User Guide — ORMdoo Admin Interface
Login
Open the access URL provided in your welcome email (format: https://admin.SLUG.ordoo.online). Enter your username and password, then click Log in.
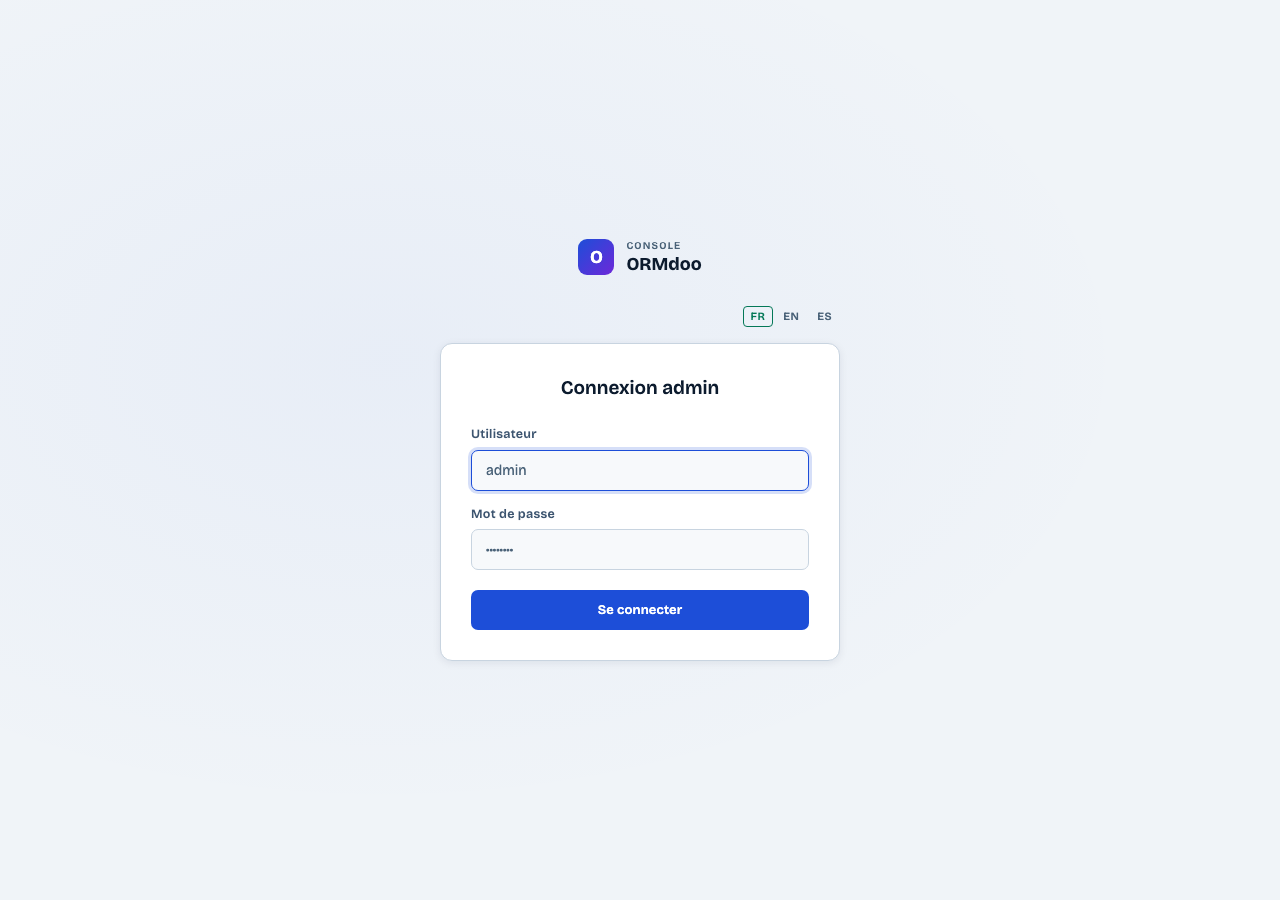
Open the URL in your browser.
Enter your username and password.
Click Log in.
If you forget your password, contact your administrator. They can reset it from the Users page.
Dashboard
After login, you land on the Dashboard. It provides an overview of your Odoo instances: used quota, number of active/stopped/error instances, a compact instance list with their status, and a distribution chart.

Navigation
The left sidebar gives access to 6 sections: Dashboard, Instances, Versions, Users, Settings and Servers. At the bottom, the Light / Dark / Auto buttons switch the interface theme, and the Logout link ends your session.
Instance list
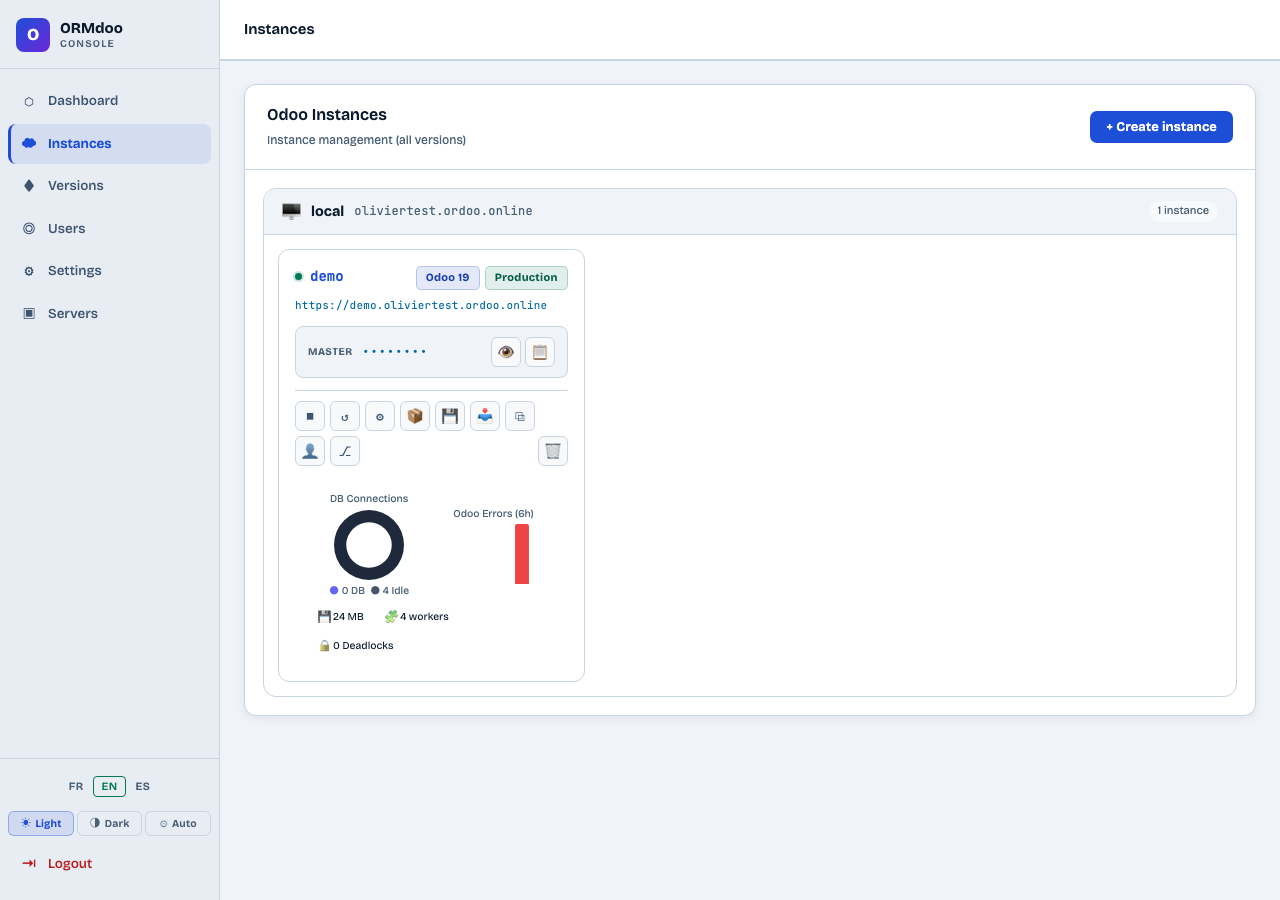
The Odoo Instances page lists all managed instances grouped by server. Each instance card shows:
- The instance name and access URL
- The Odoo version and type (Production or Staging)
- The MASTER password (masked — 👁 reveal and 📋 copy buttons)
- The row of action buttons
- Real-time metrics at the bottom of the card
Available action buttons
- ⏹ Stop — Stops the Odoo service
- ↺ Restart — Restarts the Odoo service
- ⚙ Configuration — Shows the instance configuration
- 📦 Addons — Installs custom modules
- 💾 Backup — Creates a backup
- 📥 Restore — Restores from a backup
- ⧉ Clone — Clones to a staging instance
- 👤 Connect as — Opens an Odoo session under a user account
- ⎇ Git repos — Manages module repositories
- 🗑 Delete — Permanently deletes the instance
Real-time metrics
At the bottom of each instance card, metrics refresh automatically and show the server state:

- DB Connections — Donut chart: active vs inactive PostgreSQL connections
- Odoo Errors (6h) — Bar chart of errors over the last 6 hours
- Memory used (in MB)
- Workers — Number of active Odoo processes
- Deadlocks — Blocking PostgreSQL locks
Create an instance
Click + Create an instance in the top right to open the creation form.
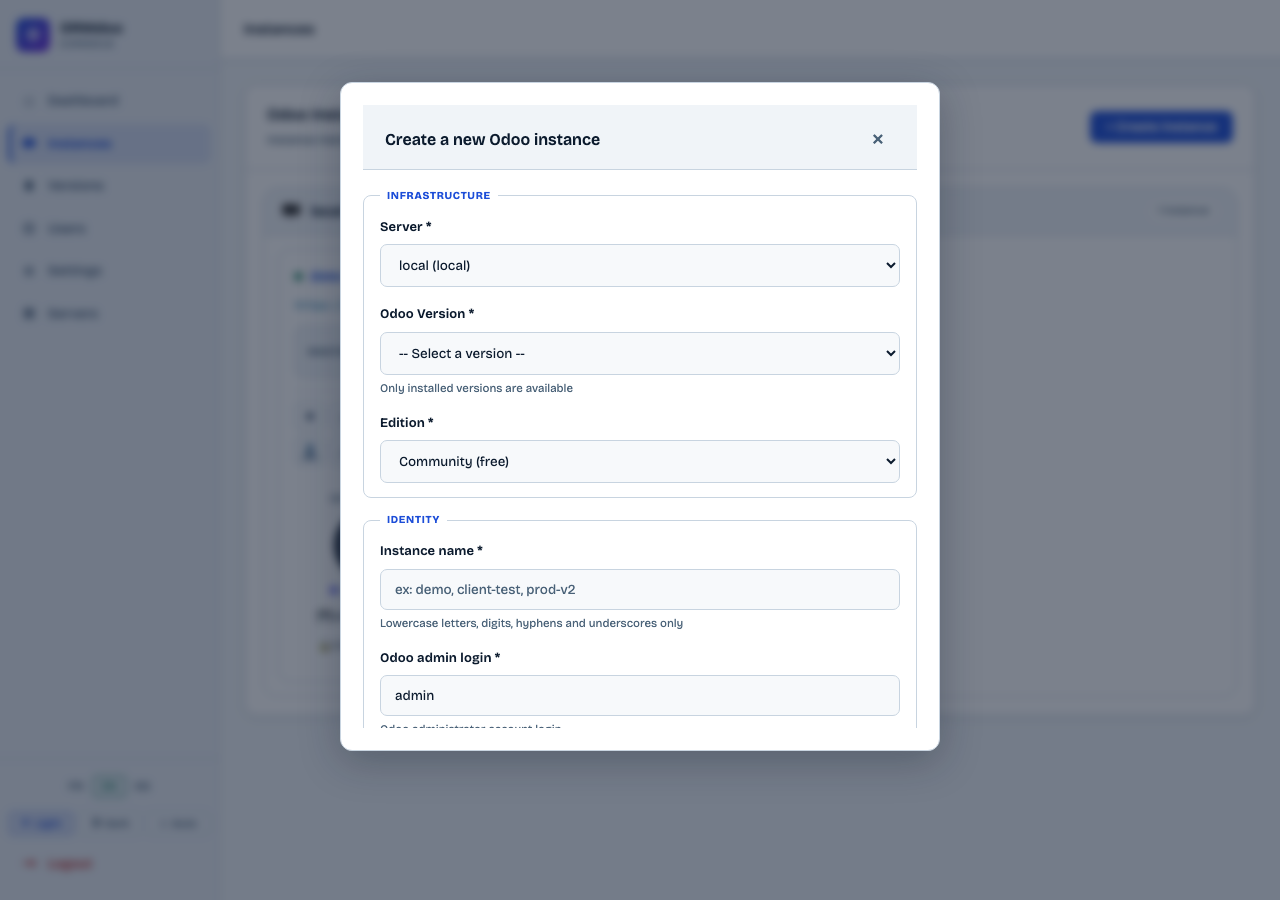
Infrastructure section
- Server — Select the target server from the list
- Odoo version — Only versions installed on the server are available
- Edition — Community (free) or Enterprise (requires SSH key configured on GitHub)
Identity section
- Instance name — Lowercase letters, numbers, hyphens and underscores only (e.g.
demo,client-test,prod-v2) - Odoo admin login — Administrator account login (default:
admin)
After clicking 🚀 Create instance
Provisioning starts. The instance card appears with the In progress status. Progress is displayed in real time. Full provisioning takes about 5 minutes.
You can continue using the interface during provisioning. The card updates automatically.
Create a backup
The backup generates a ZIP archive in standard Odoo format: SQL dump + filestore/ folder (attached documents). This file is compatible with restoration via this panel or directly via /web/database/manager on any Odoo instance.
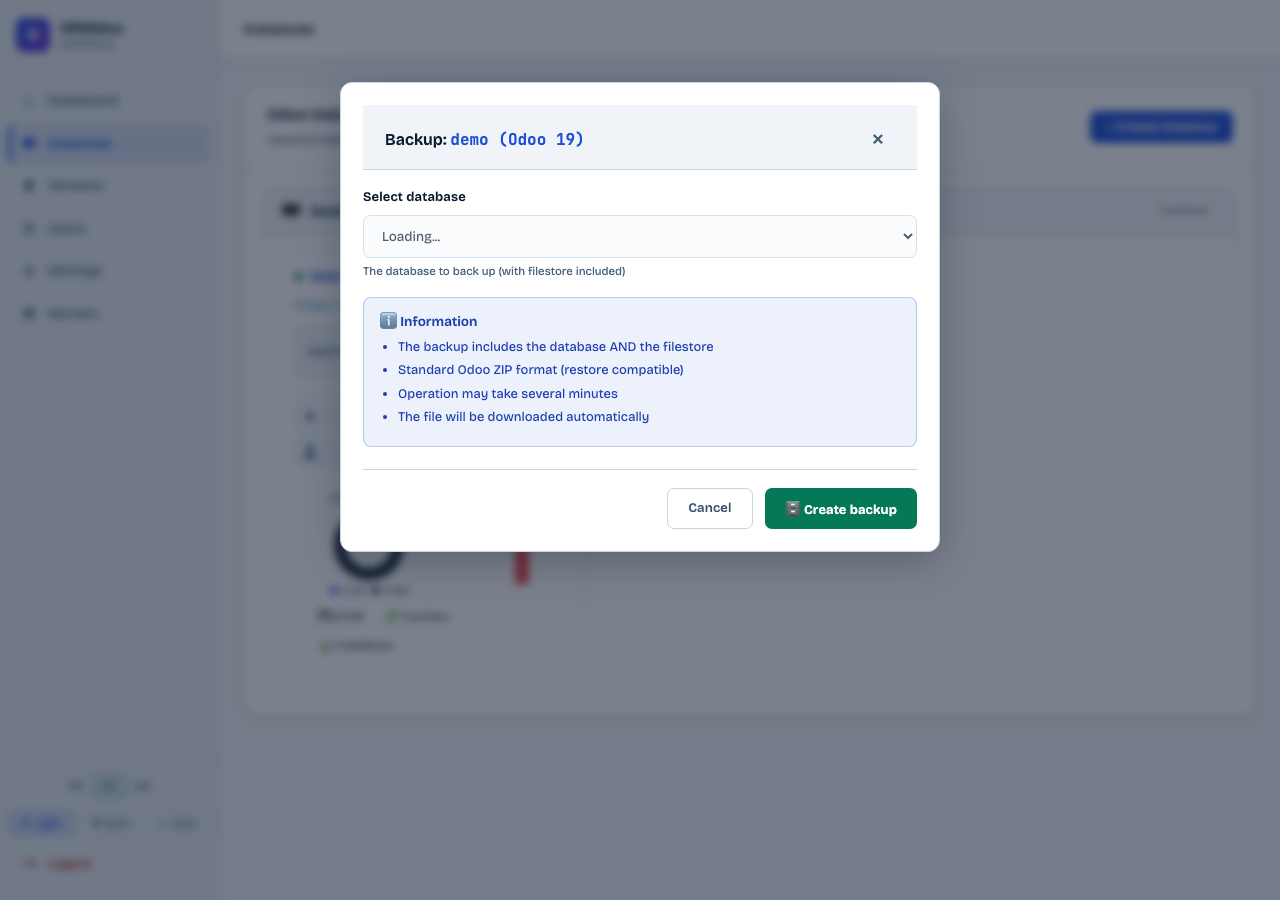
Click the 💾 button on the desired instance card.
Select the database to back up from the dropdown.
Click 💾 Create backup.
Wait for the operation to complete. The ZIP file is downloaded automatically.
The operation may take several minutes depending on the database size. Do not close the window during backup.
Restore a backup
Restoration completely replaces the database and filestore of the target instance with the content of the uploaded ZIP. The expected format is the standard Odoo ZIP format (dump.sql + filestore/), compatible with an export from /web/database/manager on any Odoo instance.
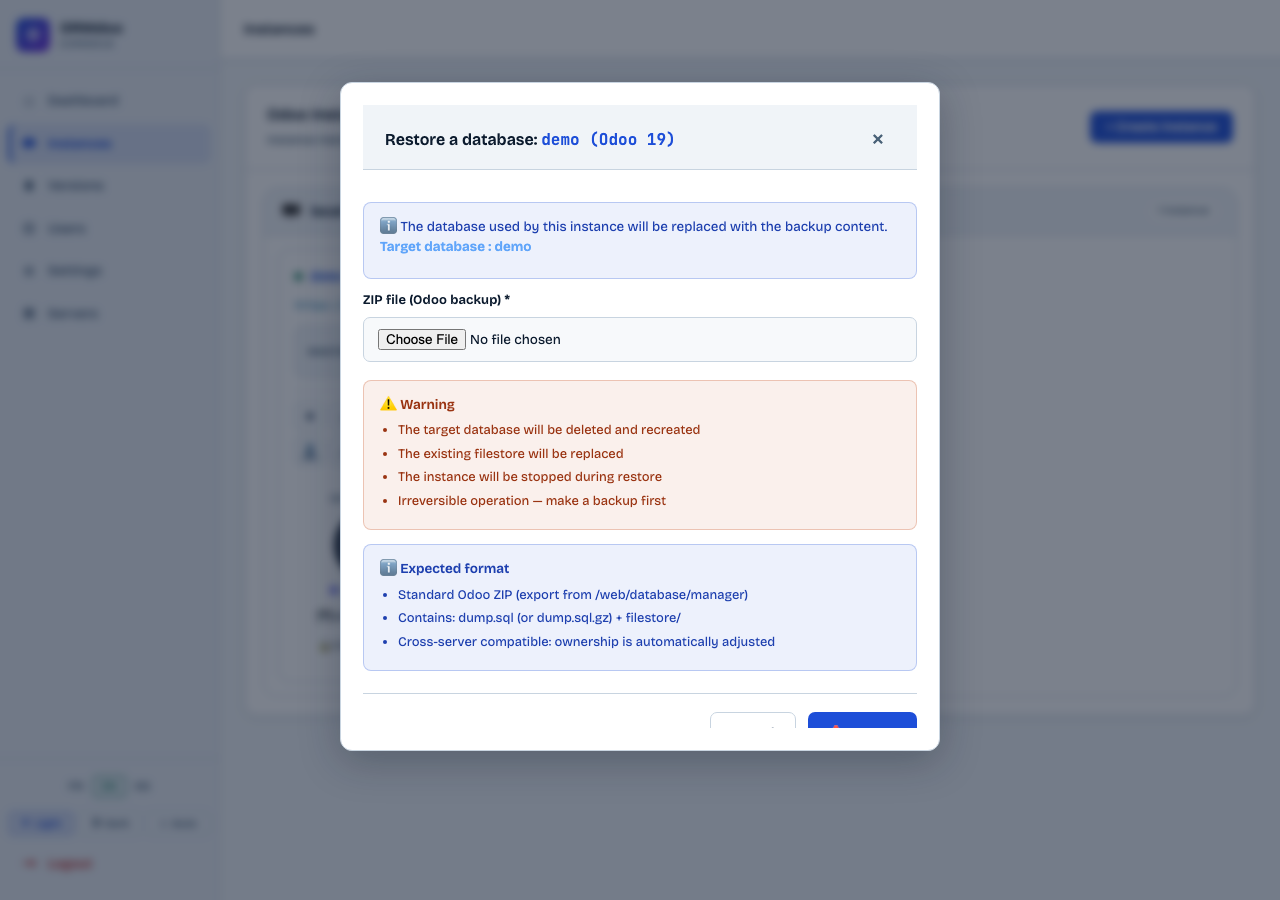
Click the 📥 button on the target instance card.
Select the backup ZIP file (standard Odoo format).
Click 📥 Restore. The instance is stopped, the database recreated, then the instance restarts.
The target database is deleted and recreated. The existing filestore is replaced. The operation is irreversible — create a backup before any restore.
Install modules (addons)
This function uploads custom Odoo modules to the server. The ZIP is automatically extracted into the instance addons directory, and the instance restarts automatically.
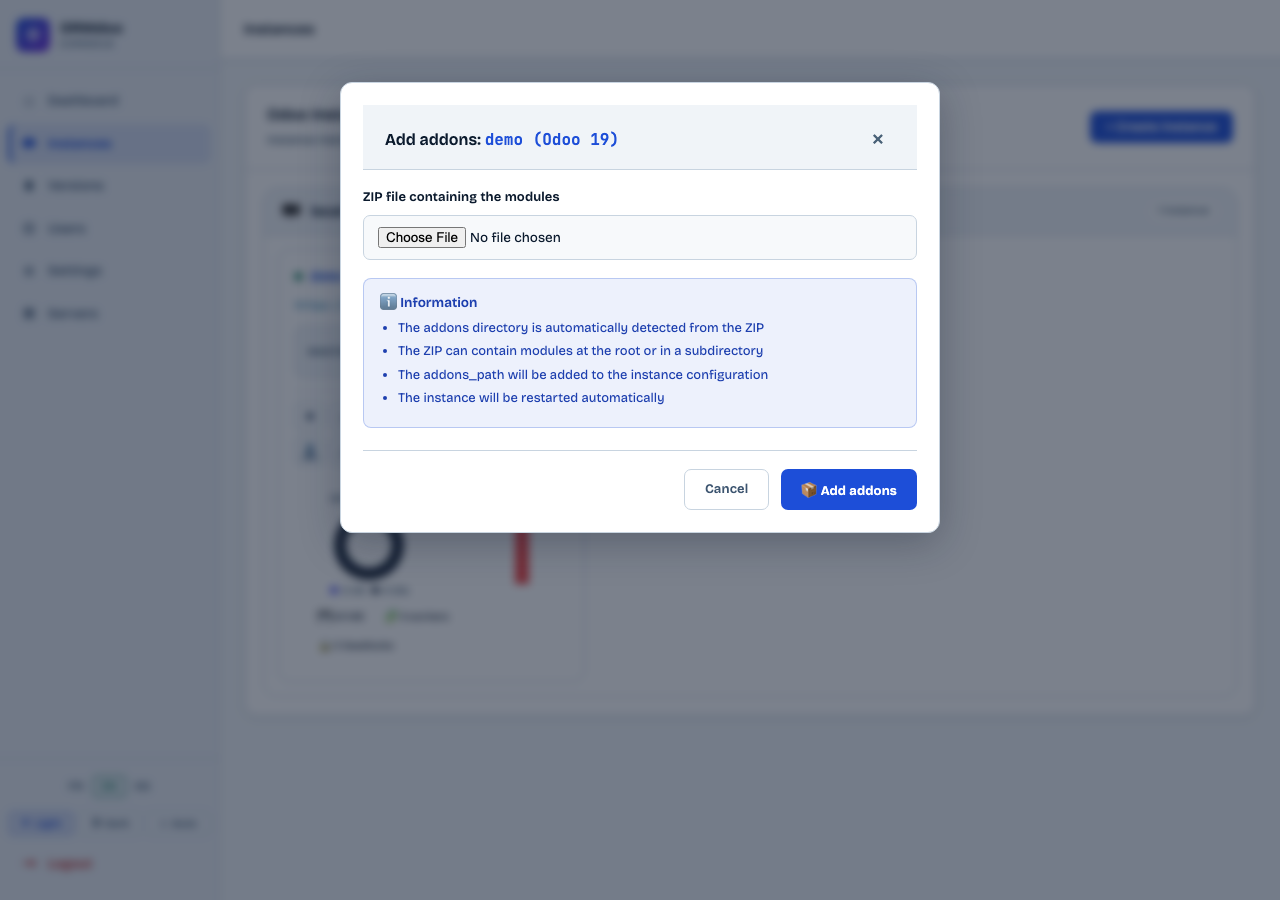
Step 1 — Prepare the ZIP
The ZIP should contain the Odoo module folders directly at the root or in a subdirectory. The interface automatically detects the structure.
Step 2 — Upload via the panel
Click the 📦 button on the instance card.
Click Choose a file and select your ZIP.
Click 📦 Add addons. The instance restarts automatically.
Step 3 — Activate modules in Odoo
Once the instance has restarted, open Odoo and go to Apps. Find your modules and click Install.
Clone to staging
Cloning creates a copy of the production instance as a staging instance. Data is automatically sanitised at the end of cloning (emails disabled, passwords reset).
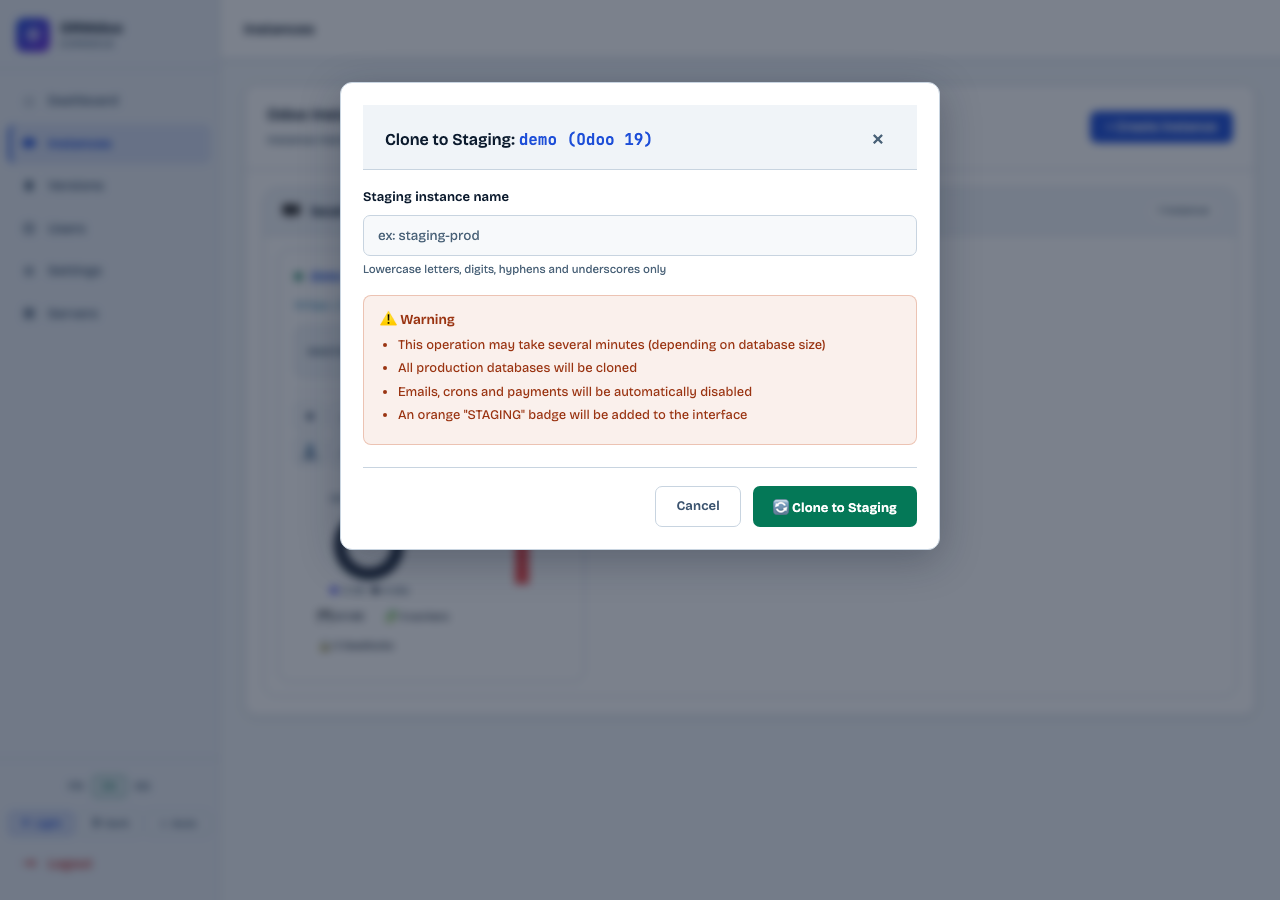
Click the ⧉ button on the production instance card.
Enter a name for the staging instance.
Click Clone.
The staging instance appears nested under the production instance in the list.
Connect as user
This feature opens an Odoo session directly under a user's account, without entering their password. Useful for assisting a user or checking their account status.
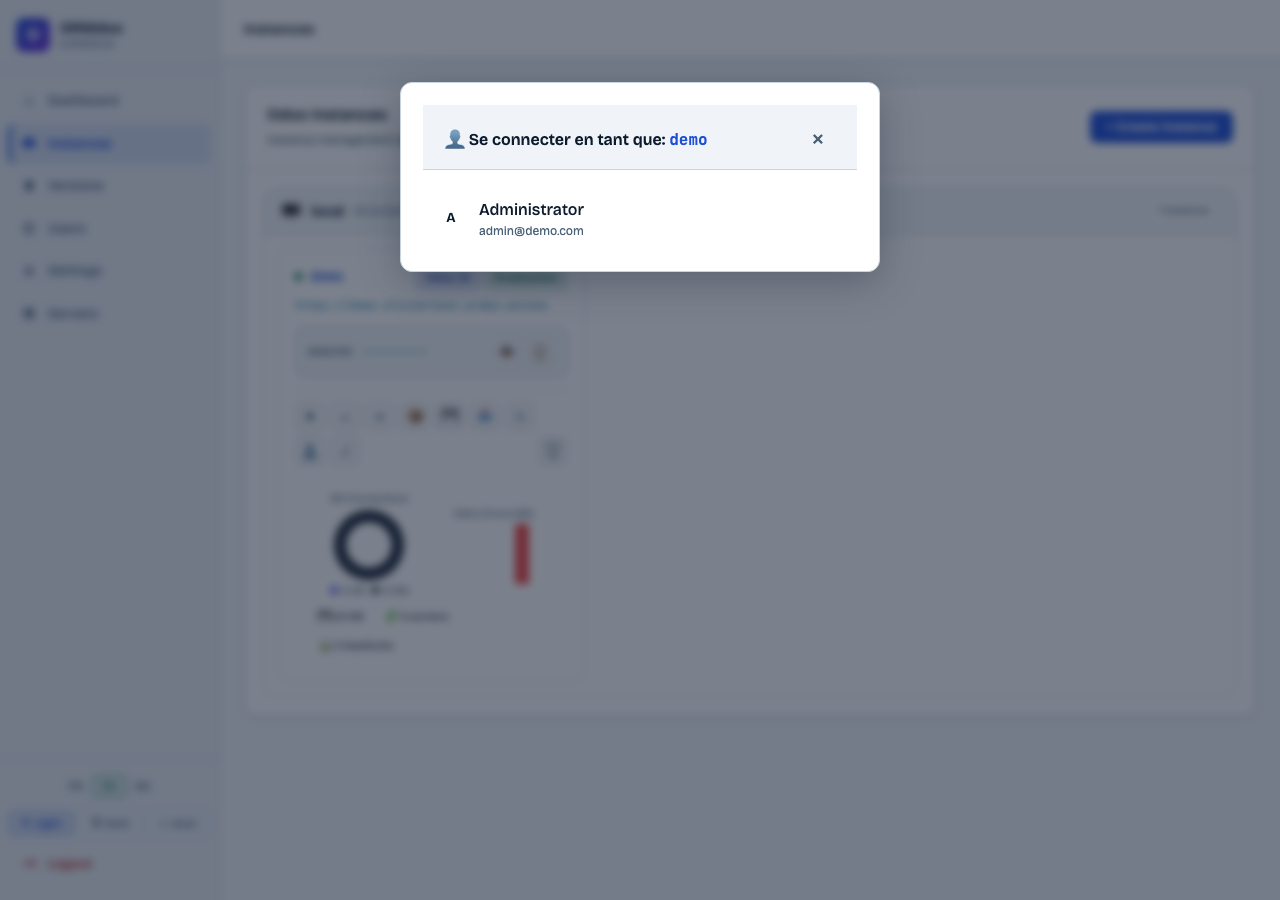
Click the 👤 button on the instance card.
The list of active Odoo users is displayed.
Click the desired user. A new window opens directly logged into Odoo under that account.
The login link is single-use and expires after 2 minutes.
Git repositories
Link a Git repository containing custom Odoo modules to an instance. The repository is cloned on the server and its path added to the Odoo configuration. A GitHub or GitLab webhook can trigger an automatic pull on each push.
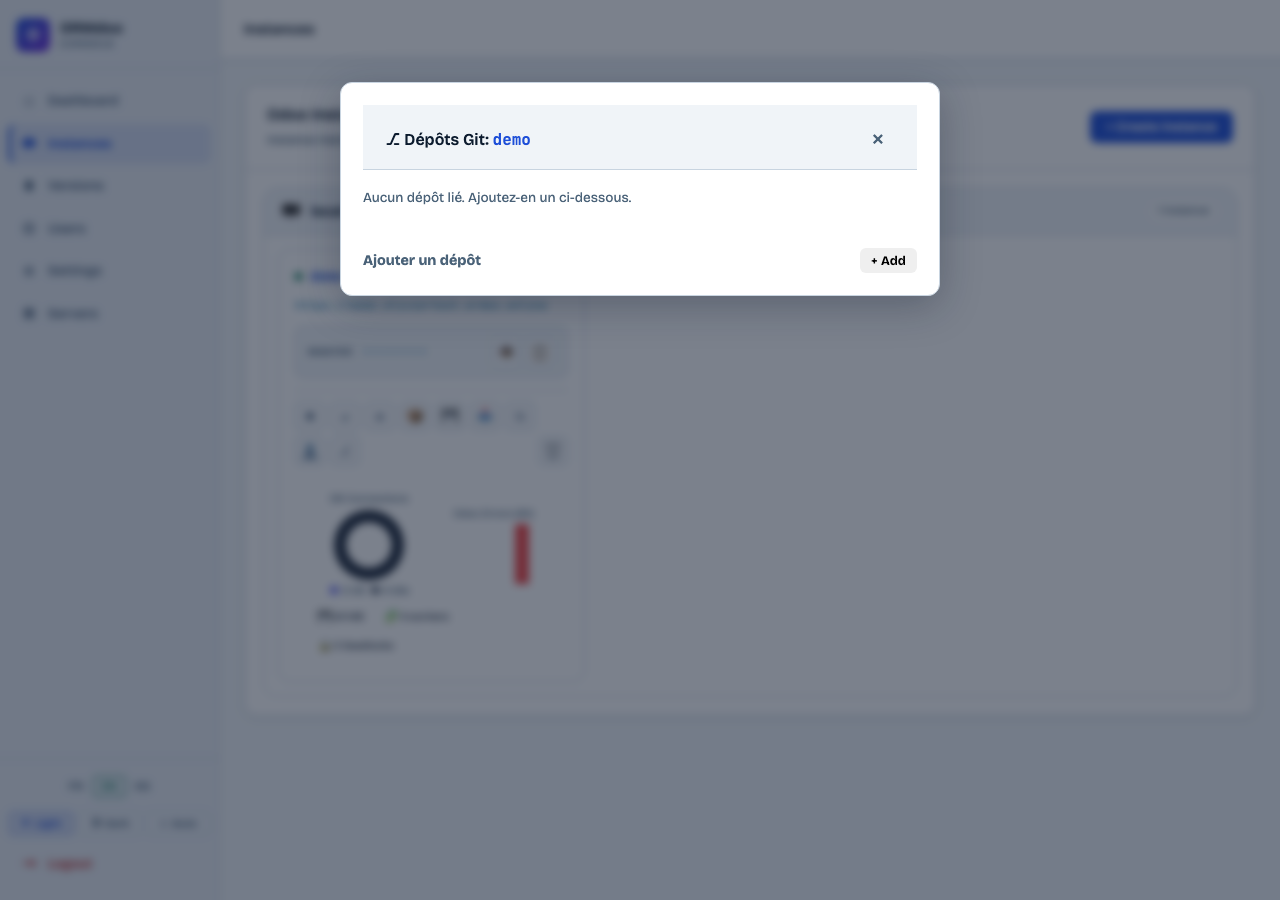
Click the ⎇ button on the instance card.
Click + Add to expand the add form.
Fill in the repository URL, branch and access token (for private repositories).
Click Add repository. The repository is cloned and its path added to Odoo.
Install the modules from Apps in Odoo.
The generated webhook URL (visible in the panel) can be configured in GitHub or GitLab to trigger an automatic pull and module update on each push.
Installed versions
The Versions page shows the Odoo versions installed on the selected server, allows installing new versions and upgrading from Community to Enterprise edition.
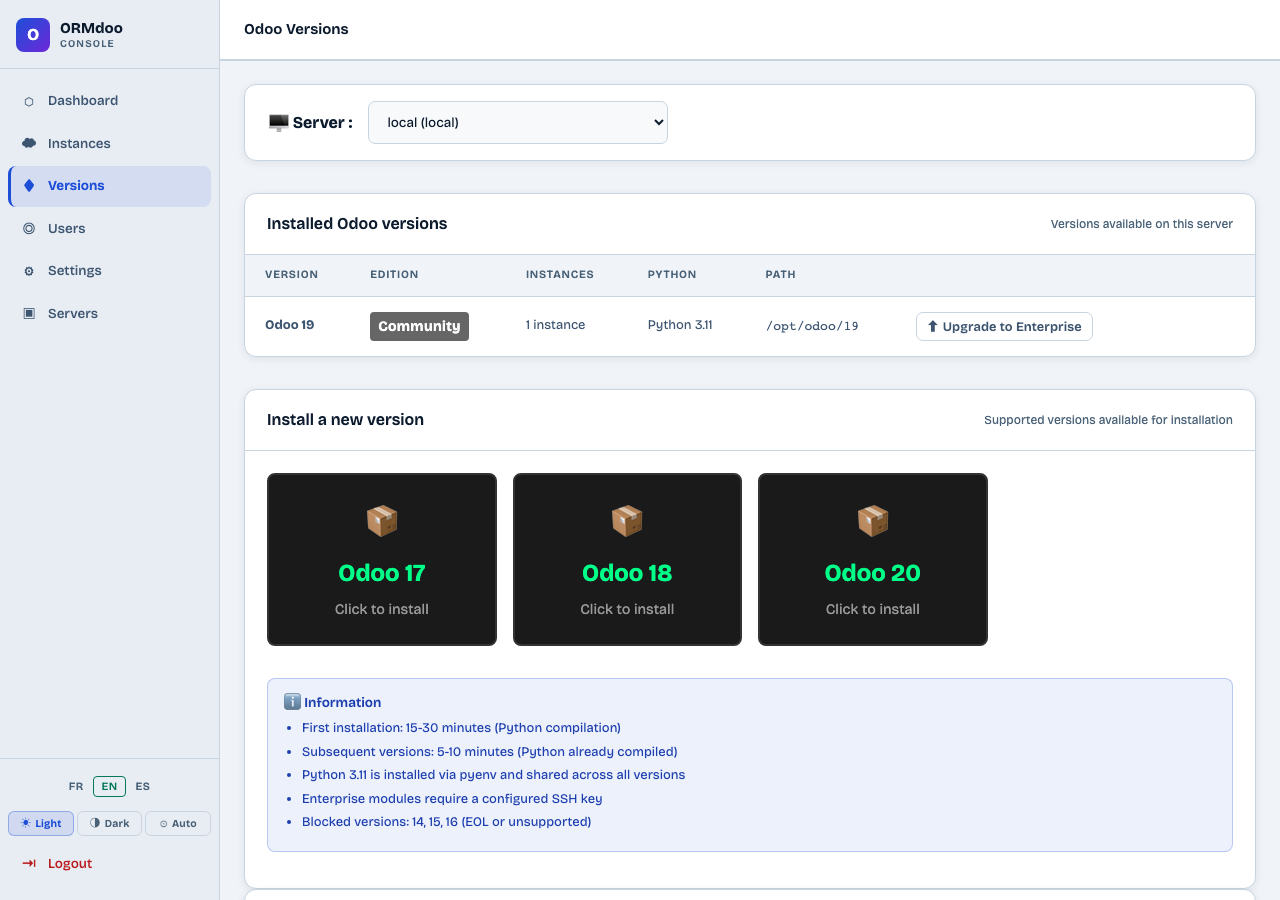
Installed versions table
For each installed version, the table shows: version number, edition (Community or Enterprise), number of active instances using this version, Python version used and installation path on the server.
Install a new version
The Install a new version section lists all supported versions available. Click a card to start the installation.
Click the card for the desired version. A confirmation dialog appears.
Choose the edition: Community (free) or Enterprise (requires a GitHub SSH key).
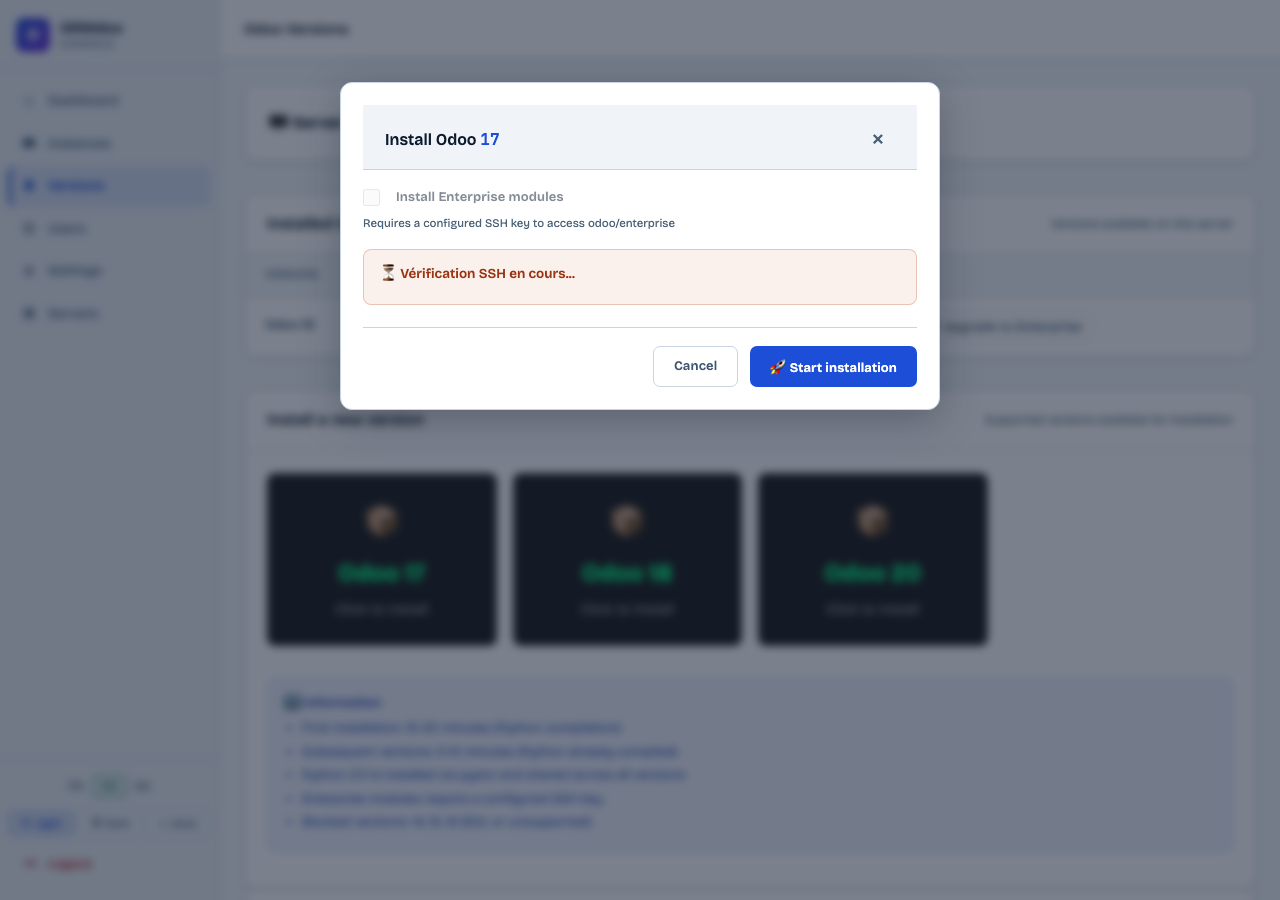
Click Start installation. The process runs in the background (~15-30 min for the first version, ~5-10 min for subsequent ones).
A real-time log is displayed in the dialog. You can close the page — the installation continues on the server.
Once done, an Installation completed successfully message appears and the new version shows in the installed versions table.
Python 3.11 is compiled via pyenv on the first installation (~20 min) and reused for all subsequent versions (~5 min).
Upgrade to Enterprise (Community → Enterprise)
If a Community version is installed, the Upgrade to Enterprise button lets you add Enterprise modules without recreating existing instances.
Make sure an SSH key with access to
odoo/enterpriseis configured (see Enterprise SSH key section below).In the installed versions table, click Upgrade to Enterprise for the desired version.
A dialog automatically checks the GitHub SSH connection. If the key is valid, the Launch Enterprise upgrade button appears.
Click Launch Enterprise upgrade. The repository cloning starts (~5-10 min). A progress bar is displayed.
Once done, a Enterprise modules successfully added message confirms the upgrade. The edition switches to Enterprise in the table.
If the GitHub SSH key is not configured, the dialog shows a step-by-step guide. Configure the SSH key, test the connection, close the dialog and retry.
Enterprise SSH key
Odoo Enterprise is distributed via a private GitHub repository accessible only to customers with an active subscription. You must link an SSH key to your authorised GitHub account.
In the Enterprise SSH key section, copy the displayed public key (using the Copy button).
Go to GitHub → Settings → SSH and GPG keys → New SSH key. Paste the key and save.
Request access to the
odoo/enterpriserepository from Odoo S.A. via your contract.Test the connection with the Test GitHub connection button. A confirmation message appears if the key is recognised.
Use the Generate / Regenerate key button to create a new SSH key pair (e.g. after a compromise). Remember to update the key on GitHub.
Managed servers
A server is a Linux machine on which the ORMdoo agent is installed. The interface communicates with this agent to manage Odoo instances. One server can host multiple instances.
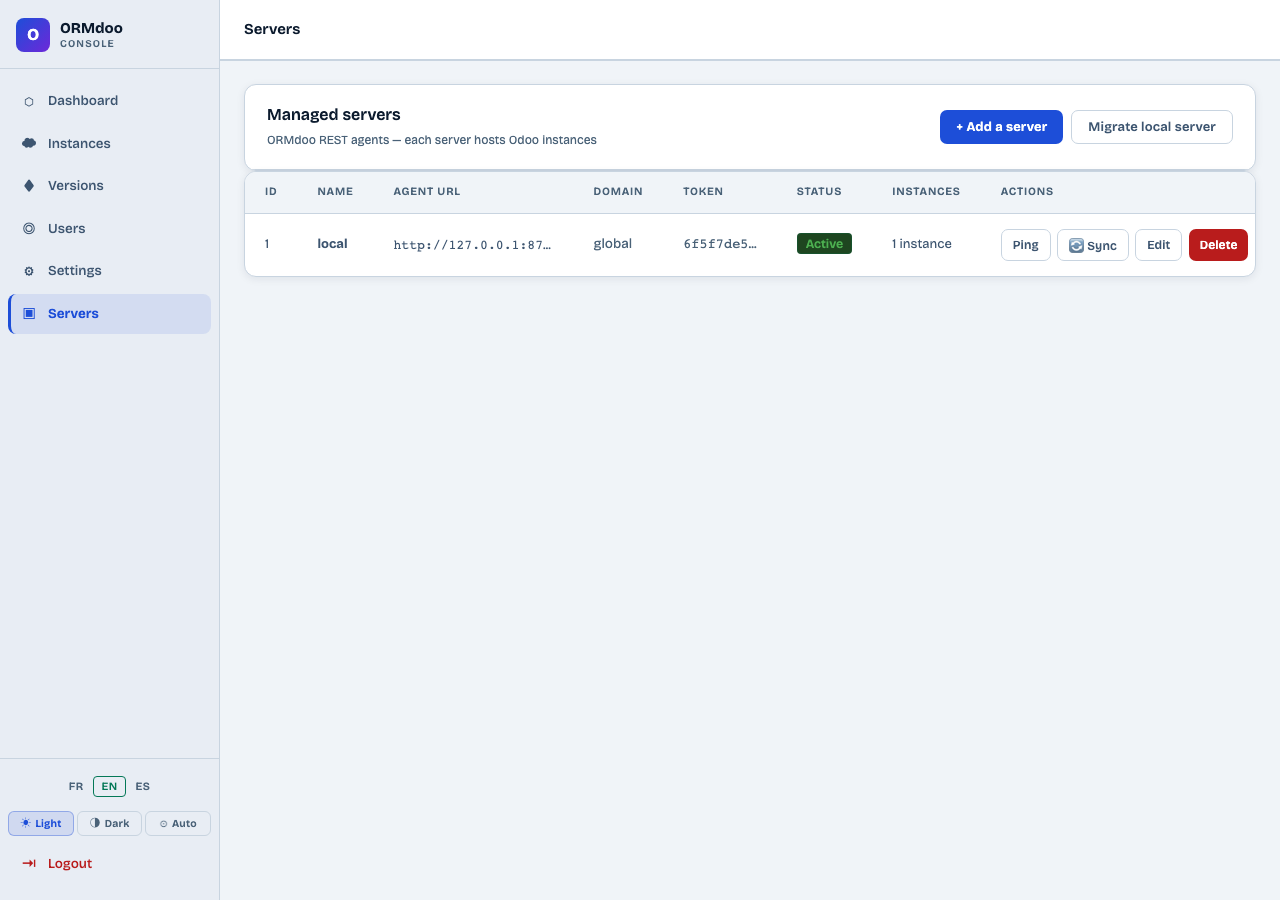
Table columns
- ID / Name — Server identifier and name
- Agent URL — HTTP address of the ORMdoo agent on this server
- Domain — Base domain used for instance subdomains
- Token — Authentication token (truncated)
- Status — Active (green) or Inactive
- Instances — Number of hosted instances
Available actions
- + Add a server — Registers a new server in the interface.
- Ping — Tests connectivity with the agent. A positive response confirms the server is reachable and the token is valid.
- Sync — Resynchronises the instance list from the agent.
- Edit — Modifies server settings (URL, token, domain).
- Delete — Removes the server from the interface (does not uninstall the agent).
- Migrate local server — Migrates instances from one server to another.
SMTP configuration
SMTP is required to send emails to Odoo users from the admin interface (OTP codes, notifications). A badge shows the current state: Configured (green) or Not configured (red).
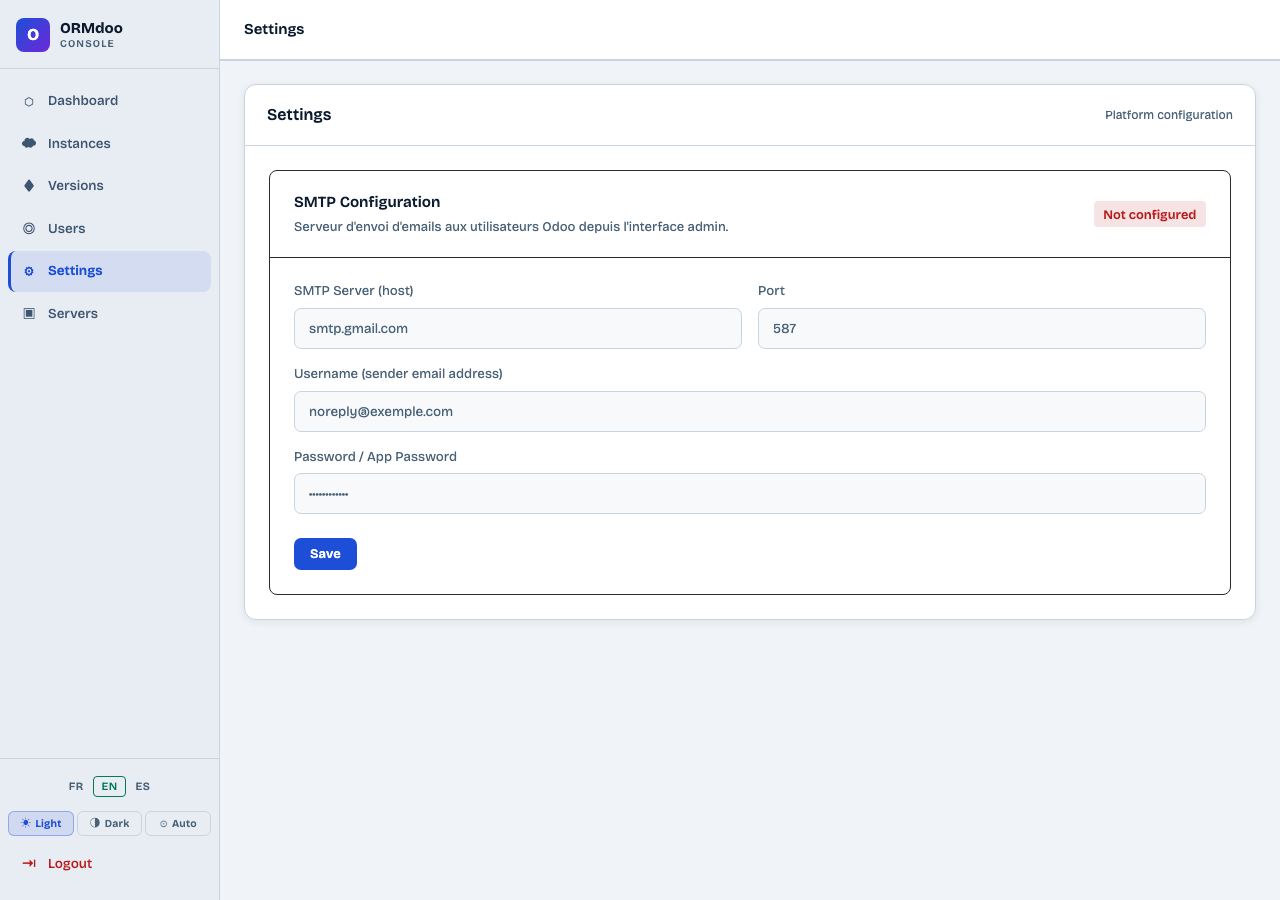
Fill in the form
- SMTP server — Sending server address (e.g.
mail.infomaniak.com,smtp.gmail.com) - Port — SMTP port (587 for TLS, 465 for SSL)
- User — Sending email address
- Password / App Password — For Gmail, use an App Password generated in Google security settings
Click Save to save. The badge turns green if the configuration is valid.
Account management
The Users page has two tabs: 👥 Users (admin account management) and 📧 Email history (log of all emails sent).
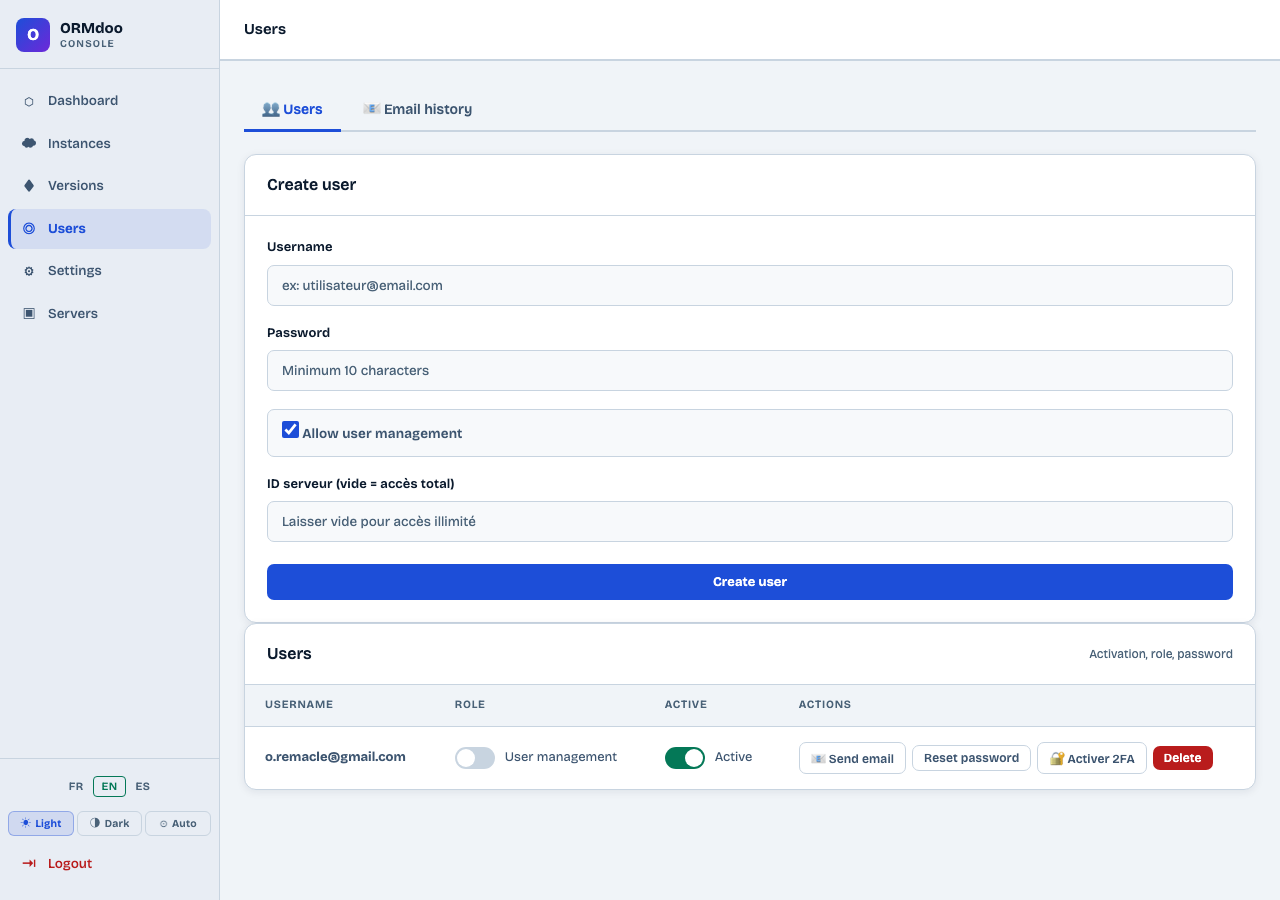
Create an account
Enter the Username (email address).
Set a Password (minimum 10 characters).
Check Allow user management if this admin should be able to create other accounts.
Enter the Server ID to restrict access to a specific server, or leave empty for unlimited access.
Click Create user.
Actions on existing accounts
- Send email — Sends an email to the user via the configured SMTP
- Reset password — Sets a new password for this account
- 🔒 Enable 2FA — Enables two-factor authentication (TOTP). The user must scan a QR code with Google Authenticator, Aegis or Bitwarden.
- Delete — Permanently deletes the account
The Active toggle allows temporarily disabling an account without deleting it. The user will not be able to log in while the toggle is off.